 I had lunch with a dear teacher friend of mine the other day, at the IHOP. She is an amazing teacher and I consider my photography teacher mentor. I started teaching photography with graphic design this school year. She has been so encouraging and broadened my scope of photography knowledge. We were talking about recording lessons for how to use software with our high school students. I thought I’d share how I set up at home. Now everyone has a different set-up. I’m a Mac person at home. I do all my video creations at home.
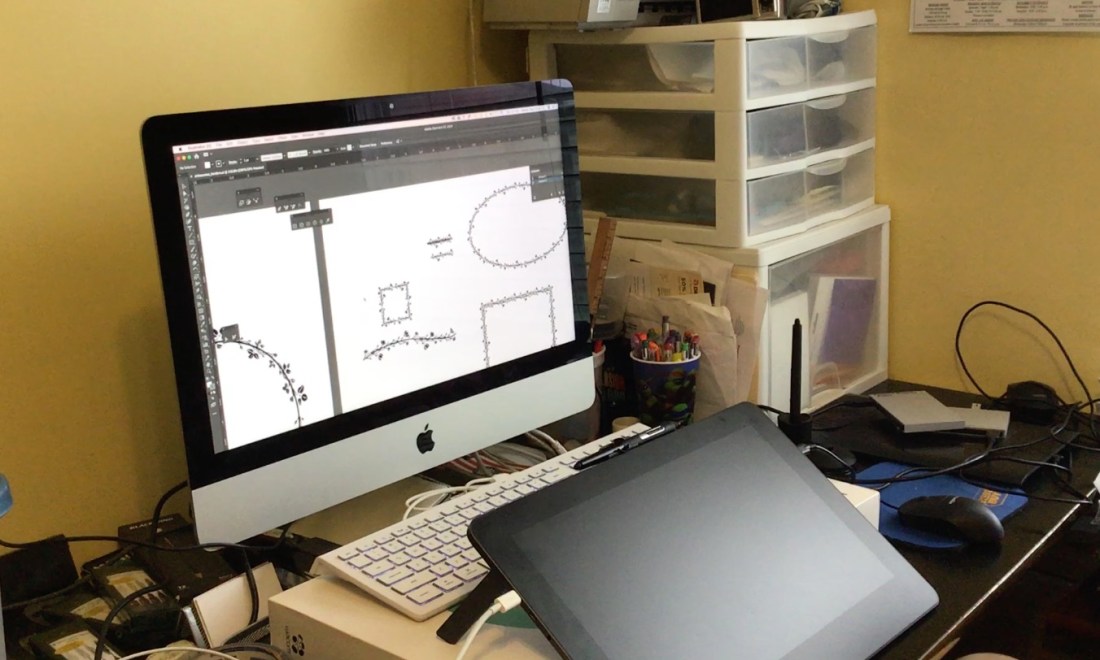
I currently have an iMac 2015 and then I use the following software to help with the screen recording.

Screen Record-Screen Recorder if iTunes store – $4.99 I use this to screen record. You can also use Quicktime if you don’t want to spend the money. I’ve seen more expensive options like ScreenFlow for $99. Much more expensive option, but it does do that picture in picture, so if you want to show yourself talking while you are teaching that is an option. It also does video editing as well.
Key Castr – Free. Open source software. It will put on screen what keys I’m pressing. Super easy to use, and install on the Mac.
Adobe CC – $29.99. I originally paid $19.99 as a teacher. My previous school had the software on the laptop they gave me but I wanted it for commercial and educational use at home since I freelance. The 1st year you get the educational discount and the next year the jack up the price. With Adobe CC I’m using Adobe Premier to edit. I do have iMovie which is what I used to use.
Audacity – Audio recording. If I need to edit. I’ve also used Adobe Audition. Either one works. I started with Audacity first and it is free. Then I moved into used Adobe Audition. Some people will use Garage Band.
 USB Logitech Microphone – $9.99. Not the best audio recording device, but it is better then using the just the desktop to record the audio.
I will start recording with the Screen Record-Screen Recorder app. Easy to use. I launch the app. You can add a logo and you can choose how to highlight your clicking action. I record at 30 FPS and full screen. You can click and drag a custom size if you need to. I also have to turn on the KeyCastr so it will show my keyboard clicks as I’m giving instruction.
Once I’m done recording I stop the recording and it creates a MOV file. There is an option in the edit portion to select a different file format. Then I import into my video editor and then edit or speed up things, add my intro, fade-in and out. I export it then I will make a playlist in youtube for students to watch the videos in sequential order. I make a tinyurl for it and I post it in the system that we use for grading and showing assignments.
If I am making a video of myself I use my iPad 2018 to record. I owned a tripod and I purchased a holder for it. Yoassi iPad Tripod Mount Adapter works on standard tripod mount. It cost $13.99 when I bought it off of Amazon.
I could use airdrop or attach my iPad to my iMac to copy the files but I use a Scandisk 16GB iXand Flash Drive. It works faster.
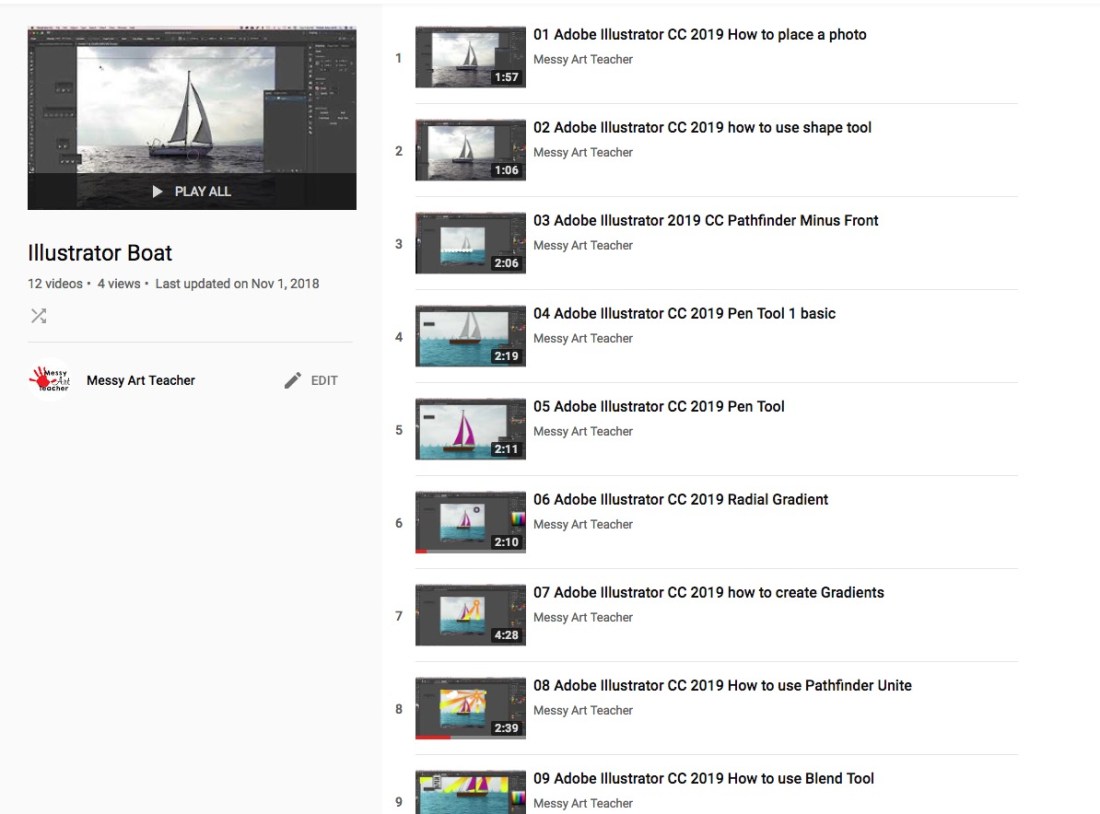
If you have a high bandwidth for your internet go with that, mine is slow at home. I just try and avoid download and upload only when posting my videos. Once I login to my youtube account then I click on the video camera icon with the + symbol in it and upload my files. I set it for public. Once it starts uploading I select the playlist I want to add it to. Here is an example Boat Illustration playlist.
FYI, I don’t do affiliate marketing. Just sharing info if you want a budget way to make screen recording for educational purposes. I find it really helps with large groups of students. Even younger students in elementary liked the independence of watching my videos and doing the work at a center.
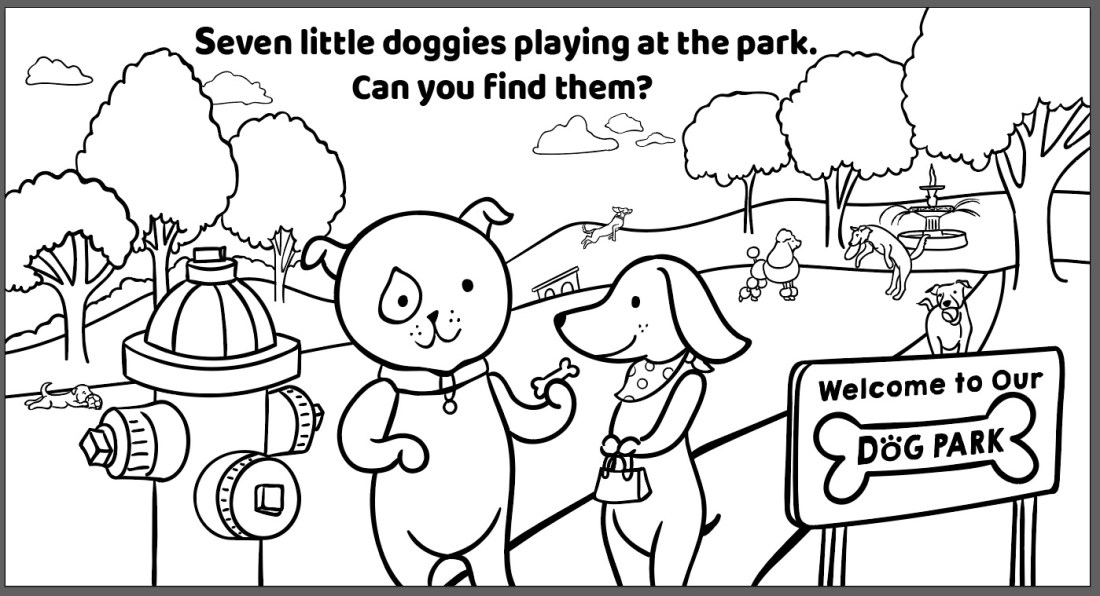 I purchased a wacom cintiq pro 16″. I’m thrilled with it. I now have a full digital workflow. About time. I really needed to commit. I made a coloring sheet to celebrate my this happy occasion. First black and white illustration using my new cintiq and Adobe Illustrator.


 I started teaching high school last year, and was given several ideas for dealing with classroom behavior. I posted them on my TPT for free. They is a behavior reflection worksheet and a student behavior contract. I used both of them with high school students. I don’t think it really gets students to think that hard on the behavior. I really used it to document their behavior. The students would write it down and then I would have a copy if I needed to address things with parents or administration. Save a teacher time from having to do the documenting. Feel free to check them out. Free to download.