Next month is May, and Asian American and Pacific Islander Heritage Month, and I am sharing this early for those who want a head start on planning. Here is a free papercraft to celebrate my Korean heritage, perfect for libraries, homeschoolers, educators, and anyone who likes cutting and gluing. Ages: Elementary and up.
I wrote and illustrated a picture book! My book Sun, Moon, and Star: A Folktale from Korea is a story near and dear to my three sisters and me, and we are the lead characters of this adaptation from a Korean folktale.
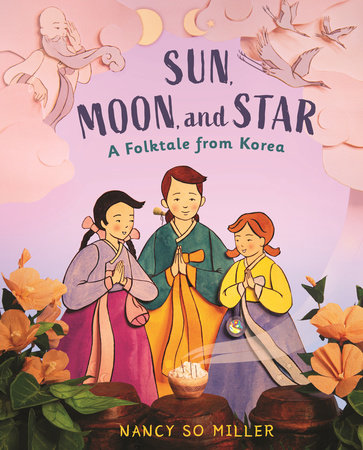
Here is a link to learn more about my picture book, Sun, Moon, and Star: A Folktale from Korea.
I made a video tutorial and a free PDF template to help you make your own paper Korean traditional house, called a hanok, like the one in my picture book, Sun, Moon, and Star: A Folktale from Korea. I also share a bit of behind-the-scenes from my book published by @holidayhousepeachtree 📚
Here are the links to the template and video:
Template: https://share.google/D4Vovw7f3DLeiu9B0
Happy paper craft! Tag me if you make one. I would love to see it 😍