Animation Week 6

download

Going to have students continue working on their puppet warp animations. Needs to be 20 frames at 12 FPS, and then they need to work on the audio. I forgot to mention I have a free storyboard sheet in my TPT for download as a PDF.

For my smaller groups they will learn how to record their own audio and foley work using Audacity. Why Audacity instead of Adobe Audition. Audacity is so easy to use, FREE, and launches quicker on the computers then Audition. You have students trying to run Premiere and Audition on the computers and it is a recipe for disaster. Audacity launches faster and it’s simple interface makes it easier to learn. Plus if it is good enough for Marques Brownlee  then it is going to be good enough for what we need to use it for. I brought my USB microphone to school, and we have some headsets that will record audio as well. It’s harder with those because you have to make sure you have the adapter on it the plug and then they need to be plugged into the correct jacks on the computer.

Post-production is always difficult for students because it isn’t everyone’s thing. If you don’t do that step then you have an animation that is boring, even with the best visuals. I’ve got an advanced student that is blowing it out of the ocean with his ability to edit and create his own tracks. Pretty amazing stuff.

Graphic Design Week 6

Screen Shot 2019-02-16 at 3.06.53 PMStudents finished their Soccer ads. We have Monday off. I’m planning to do a critique of the student work that was finished. For my larger groups, have about 4-5 students come up at a time to look at the work. They are pretty honest about what they like and don’t like. I agree with them and make some additional comments. I think next time I’m going to give them a direct critique of their own work instead of having them pick out the ones they like.

Then the rest of the week students will work on a poster design for lacrosse. That includes making a mood board. I want to go over some really basic typography terms. There is a fun game I have students play called I shot the serif. Then I’m going to have them learn how to install fonts as a bellringer.

I’m probably going to give the students a couple of weeks. I’d like my higher students to try and add the game schedule, but we’ll see. Might be too much. I’m also having a contest for a gift card to itunes for the best design. I’m going to have my students in my animation classes vote on it.


Animation and Video Club

Screen Shot 2019-02-09 at 10.51.25 AM

Had about 5 or 6 students show up for a first club meeting. Next Wednesday, they will start learning how to use Adobe Animate CC. I taught that last year with my high school students. It’s a great little 2D vector animation program. I’m going to have them create a 2D characters. Super easy using the primitive shapes. I still have to refresh to remember  how to use some of the tools. It’s one of the things I wished it was easier for me to remember as I get older. I think it will be fun and easy start.

Graphic Design Week 5

Still continuing the work on the students creating a soccer ad for the school and Adidas. We also experimented with Layer Modes and creating a custom path/selection with the pen tool. I’m old school, so I tend to learn towards using the pen tool. I’ve seen Youtubers like Peter McKinnon still use that feature.  It should be finished on Monday. Then Tues, Wed, and Thurs. I have plans for drawing a background of a line pattern using pencil, and pen.

Animation Week 5

Screen Shot 2019-02-09 at 10.39.49 AM

I’m having students learn how to puppet warp in Photoshop. It’s a feature that is in After Effects and I noticed it in Adobe Animate. It’s pretty flexible for creating a puppet from a character you’ve created. I got the playlist up for my flex grouping in one of my larger classes. I split the class into 2 parts. 1 part that can work independently based on what I’ve seen of their 1st day of instruction. Then 2nd day I have them split into 2. One group is with me then I redo what I had taught them previously from beginning to end. I think some of it is that it is difficult for students to follow what I’m doing on screen. I’ve increased the size of my cursor, and I really need to look into seeing if there is an add one to make my cursor larger and blink in Photoshop. On my to do list. Click on the youtube playlist image to watch my playlist.

The boxer I got off of Pexels.com. Free download. Next week they will start their own custom puppet warp animation.


Artivive APP

Screen Shot 2019-02-02 at 10.37.52 PM

I’m super excited to try this with my animation class. I could do this with my graphics/photography class as well. About 4 months ago this app came out called Artivive. I think it takes art into a whole new realm. Animation and video bring a new dimension to the work. The app is available for android or iOS. Free!!! Every art teacher on a budget has got to love it. I’m thinking I’ve taught my animation students how to creating animations in Photoshop and then export as MP4 files. They we print out a frame from the animation then print out the symbol that activates the animation/video when you focus it with the app it plays. Sweet! Their animation will actually play on someone’s phone as long as they have the app. Also with my graphics/photography students we will make cinemagraphs. We print out a frame and then people can actually watch their cinemagraphs. How cool would that be? They are using this in major museums and galleries through out the world. #1 downloaded app in Singapore.


Animation Week 4

screen shot 2019-01-26 at 12.58.07 pm

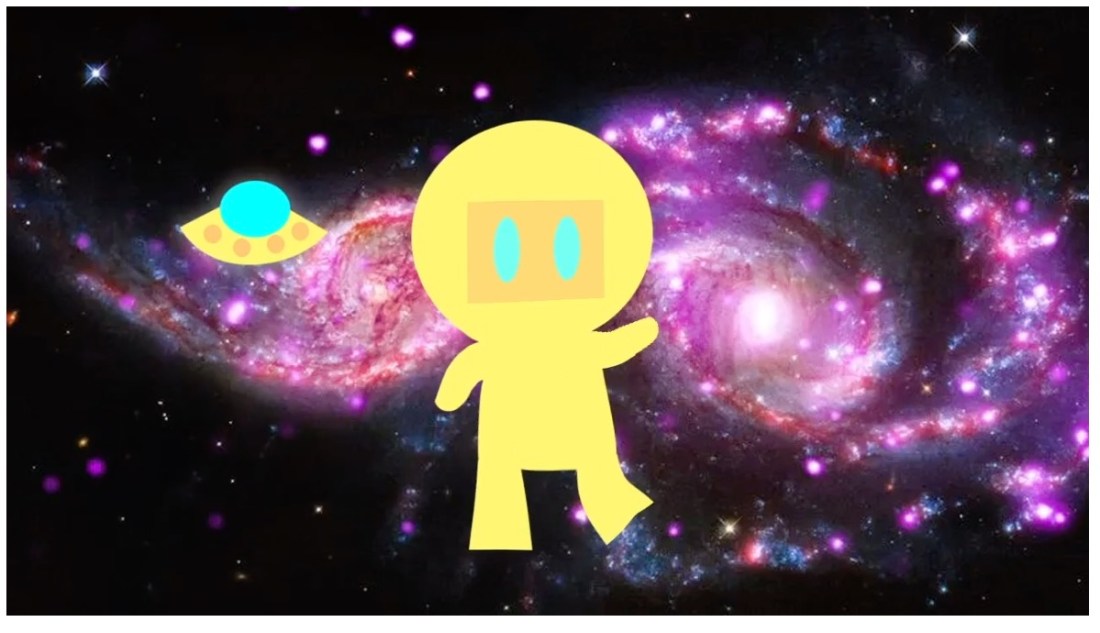
Audio, oh audio, where for thou audio. Finally got the students animations exported from Photoshop on Friday. They are learning Premiere and starting on post-production. We got a title, and transitions. Working on looking for audio on Monday. The rest of the week will Premiere skills and how to create an animation in Photoshop using the Puppet Warp feature. They have to get a photo of a boxer to box before they make their own. I made an animation Robot Dancer to the Safety Dance Song.

Screen Shot 2019-02-02 at 10.32.43 PM

I think there is a learning curve with using Premiere. Many students are used to good old iMovie and would prefer that. I like Premiere because you just have more control and better effects, etc. It’s a good step into then learning After Effects. I don’t think we’ll get to After Effect semester 1. I tried Adobe Rush at home, boy I didn’t care for it. It is easier than Premiere, but I felt like it is clunky in comparison to iMovie. Just a personal opinion. I’d rather just use Premiere, or I’m just used to Premiere and I’m being stubborn and don’t want to really learn it.

I was disappointed that Premiere no longer supports animated GIF.  I’d had my students make some GIF animations 1st semester and then Premiere stop supporting it. Like what? Oh well, moving with the times.

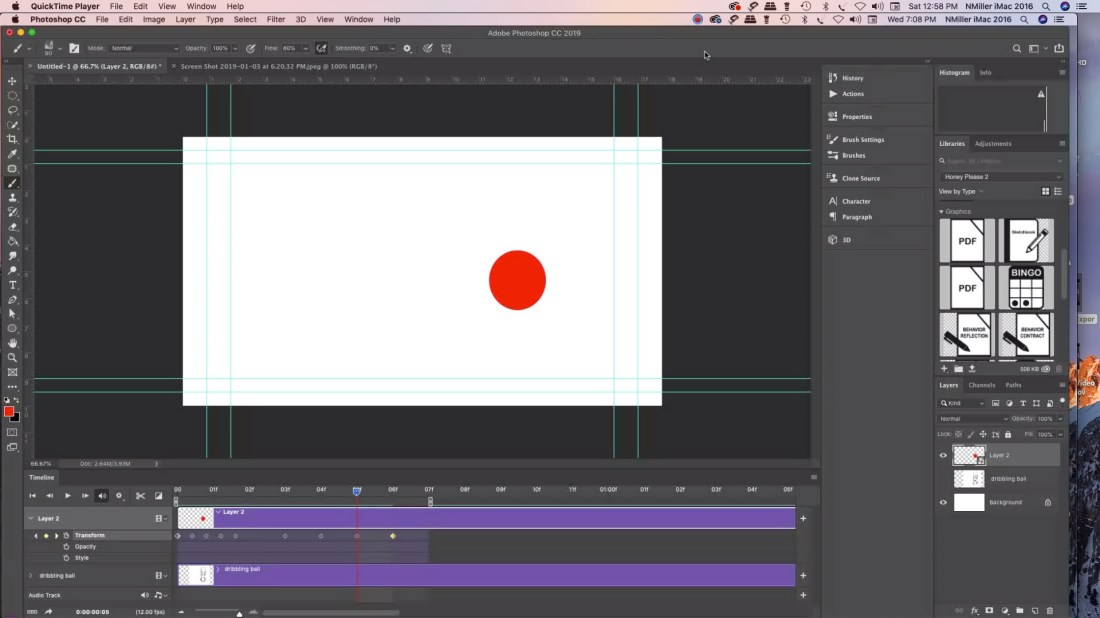
I’ve cut down the number of frames my students have to create. I decided 20 frames total and then they can loop it several times in Premiere. Building them up to a higher frame count. My poor students last semester I was giving them # of seconds, and it was a lot. Live and learn.
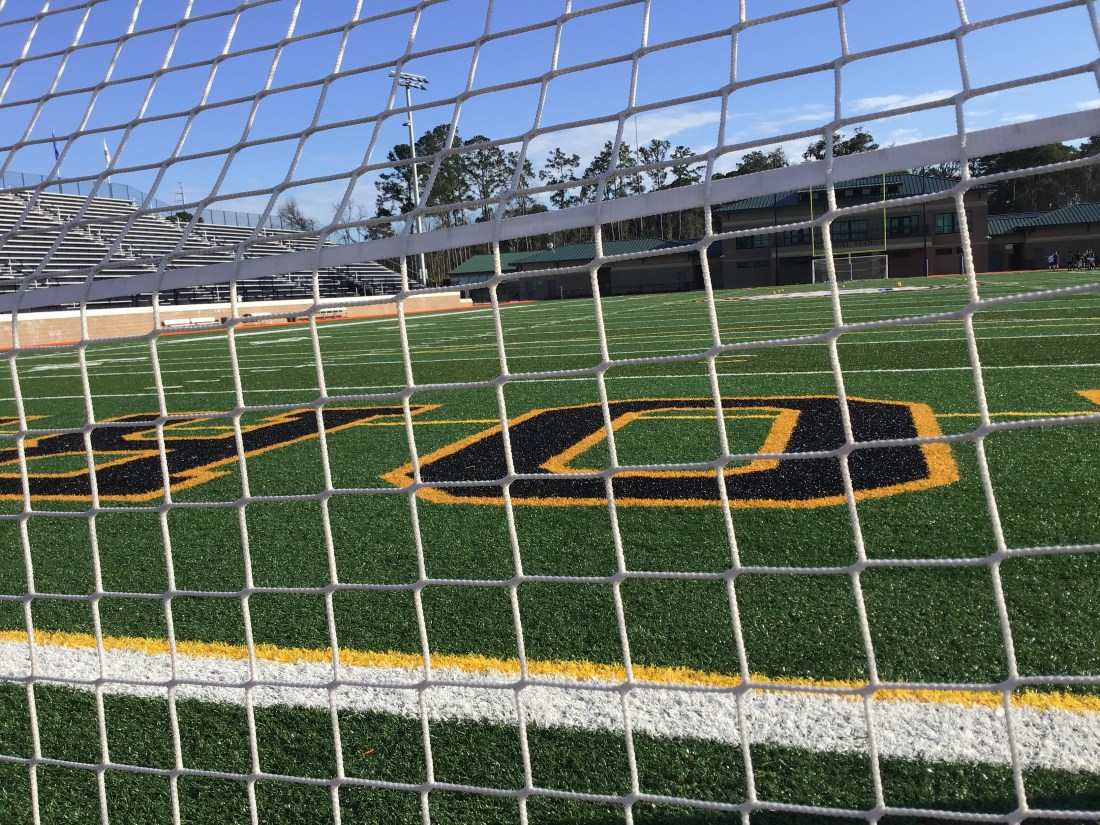
Graphic Design Week 4

IMG_1191~photo.JPG

This Friday I went to my first soccer game. Never been before, so much more exciting when you know the players. Some of my students are on the team. I took some video of the game. Plus got some night shots. This shot you see is from practice earlier in the week. They will be using the photos I took to create an advertisement for Adidas. I think they will turn out pretty cool. We start with the mood boards and research on Tuesday. Monday gotta upload photos from the search for objects/shapes that look like letters. Then I think we have to back up files. Monday will be an easier day. The rest of the week learn some new photoshop skills: layer styles, adjustment layers, and color correction.

Animation Week 3

screen shot 2019-01-26 at 12.58.07 pm

Students started creating their bouncing ball animations in Photoshop. Probably wondering why Photoshop (PS) instead of jumping into Animate or another program. I decided that even though it is limited for animation software you can teach students to animate in 3 ways. The big plus was that I wanted students to feel like they had a frame of reference for when we do switch over to other software. I’ve found that once we start post-production students may struggle with it. Also I think I’ve gotten better a teaching it. That probably helps as well.

Working in a PC lab there is no iMovie. My students tend to lean towards apple products. Nothing wrong with that I’m all Mac at home. iMovie is very easy to use, but has limited features. Adobe Premiere is more robust and you can do so much more with the editing. I prefer it. Then when you want to switch to After Effects I think it helps starting with PS.

Students had to animate a bouncing ball based off of Preston Blair’s Animated Ball sequence. That is all over online. A dribbling ball, and then a ball animated anyway they like.  Tuesday students will start learning post-production in Premiere. I think it will take a week. Well worth taking the time to learn and then students will feel more confident using the software.  As far as audio is concerned I’m just going to teach them how to find audio. Later we can learn foley work. I ordered a Blue Yeti for myself. Probably use Audacity. We have audition, but the more I read reviews most Youtubers are using Audacity. It is good enough for Marques Brownlee. Love his tech reviews.

I also think there will always be some students that prefer animating over postproduction. I’m one of them. It isn’t my favorite thing worry about audio/titles/transition etc. I’m pretty tired from all the drawing that I feel like it was a sprint to get that done. Really is a marathon. I think it will be interesting to see which students excel in areas that I’m weak at. Then they can teach me a thing or two.

Astropad App

jmmwefasknpfbz4szpkyke-480-80

I purchased a Wacom Cintiqu Pro 16″ and it doesn’t disappoint. For $1500 it should be great. I love it, but I was doing more research and if you are on a budget for yourself or a classroom I’d suggest looking into the Astropad app. Many public schools have 1-to-1 iPads for their students. The app allows you to mirror on to you computer what you are doing on your iPad.  If you looking into purchasing the screen protectors that I’ve seen that mimic the feel of paper then you may have something that could really save you bucks. I honestly haven’t tried it but if you figure a 2018 iPad starts at $400 and then $100 for the apple pencil. The Astropad app costs $29.99. There is another app I read about called Duet Pro.  Then there is a company called PaperLike for the screen protector costs $29.

I’ve never used the products, but if you have a small budget and you want students to learn animation I really think it is MUCH easier using some type of screen they can draw on. It’s one thing if you are doing illustration. That is just 1 image. Animation requires multiple images and they you have to consider students are learning in more than 2 dimensions.  They have to understand the image height, width, and time.  Then if it is 3D you are looking at understanding height, width, depth, and time.  It saves time if you can just draw on the screen live.

I think the tech is getting more and more affordable. But as they say you pay for what you get. I’m glad that I went with the Wacom instead of another brand. I’ve always used Wacom for my design/illustration work. When working with a budget the above maybe something to consider. If anyone has used those products would love to hear your thoughts. I am thinking about purchasing PaperLike for my own iPad because nothing beats the feel of drawing on paper. I’ll let you know if I purchase it.

Graphic Design Week 3

studentexample
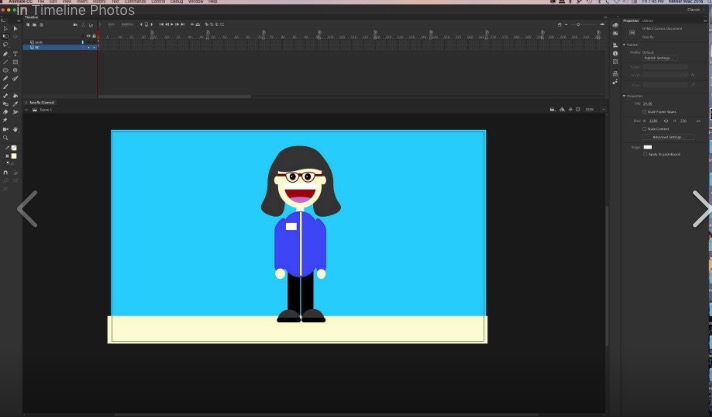
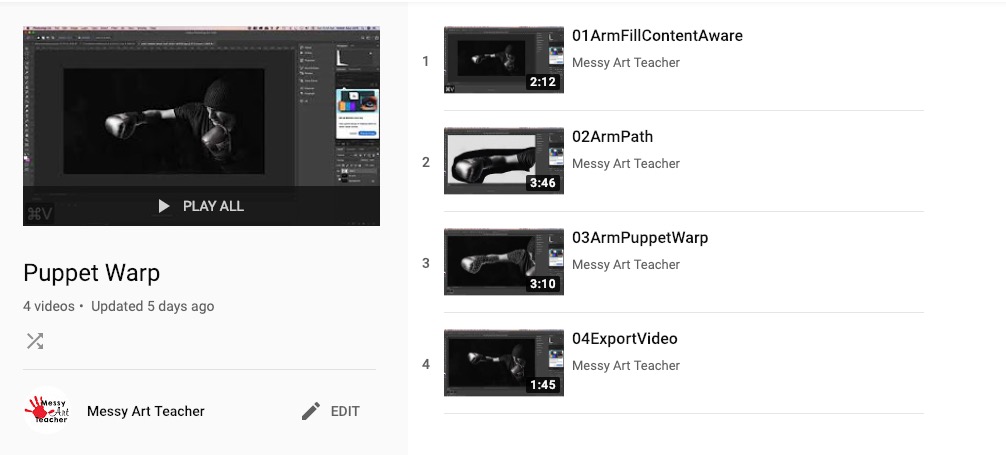
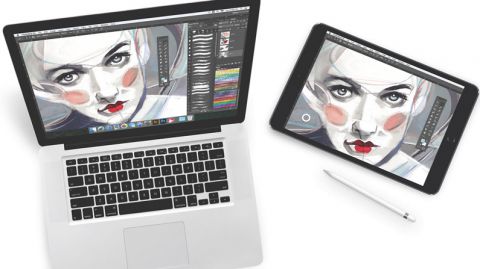
I had my students this week finish their photoshop merge photos project. It’s really for them to get used to using the tools in Photoshop to take several photos and put them into one picture. I have a youtube playlist that you can follow with. PhotoMerge Youtube. I blurred out the student name they had to add type and use the Text Warp in PS.

The photos I got from Pexels.com
The site is free and you don’t need a login to get high res images. I also spoke with another graphics teacher and he has his students use FreeImages.com

Pexels you have to be careful because there could be certain images you don’t want your students to see. FreeImages images are appropriate, but my students had a hard time and would lose connection to the site.

If you want to use the same images that I used with my students.

Toy Bus

Beach Sky

Person on Beach

Blue Barn

Students turned in their work via Microsoft Teams. Found out there is a 50 MB size limit. I had them re-save as a JPG and upload their images. We also started a weekly back up files on their OneDrive.  I think there isn’t a file limit since the school signed up for the accounts but we will see. Google Drive for personal use has a 15GB limit if you don’t have it for education.

We learned about Edward Weston Photographer. We took still life photos of fake eggs and silverware. I’m hoping to share some student examples once we color correct them.