Graphic Design Photo Wk 2 (2019)

broadwayboogiewoogiesmall

It seemed like a very busy week for students. Lots of events going on. I had decided to just teach them simple basics of using Photoshop CC 2018. May of my students are familiar with it. To explain there was a previous teacher teaching graphic design/photo, so some had take the class. I get some students more familiar with it. Or if they have used free apps like GIMP or Pixlr  Photoshop will seem easier to pick up. I have a pretest that I gave a couple to see if they can composite several photos together. If they can they are exempt from this project and they can create an independent project to work on.

Reviewed using Microsoft Teams and then started recreating a piece of artwork. I decided to do Piet Mondrian Broadway Boogie Woogie. In the past I’ve used Van Gogh Starry Night or a Kandinsky. I cut a section of it and provided the file to the students to open in Photoshop.

We go over selecting using the Marquee, brush, eyedropper, shape tool for vectors, and swatches and layers panel. How to navigate with in the document. Change brush sizes.

My new catch phrase is “You can effect it when you select it!”  

I also make them use a specific workspace. Currently using the Graphics & Web workspace. I make them restore all of tools in the tool bar.

Youtube How to change Photoshop CC 2018 Workspace
Youtube How to change Photoshop CC 2018 Tools


Animation wk 1 & 2 (2019)

We worked on the beginner bouncing ball animation lesson. I had students use my bouncing ball worksheet as an introduction to the project. They used index cards and a bull clip to make a flip book. They had 17 frames for a ball moving across, 12 for a dribbling ball, and then 20 for an animation of a ball of their choice.

Here is the video link to my Student Example.

Next week we are going to take their bouncing all and then turn it into an animation in photoshop. They also recreated Steamboat Willie in Photoshop CC 2018.

Students learned how to use the paint bucket tool, brush, marquee tool, eraser, eye dropper, shape tool, workspaces, and restore tool bar, swatches panel, and layers panel.

screen shot 2019-01-19 at 9.37.35 pm

At the end of the week we did a drawing exercise. I have them draw circles then we did a step-by-step drawing of Mickey. I also had them watch a video from PBS American Experience Walt Disney. There is part 1 and part 2. We watched 30 min of it.

In my post for week 1 for Graphic Design we did the same thing getting their student email account set up and their email signature.  Then we went over Microsoft Teams, and One Drive. I call that housekeeping. You have to learn it in order to see/submit their assignments. Microsoft Teams acts as my LMS. I made the Microsoft Teams for Edu playlist on Youtube because I didn’t see much online. Of course every school is different. In my previous teaching jobs we used Google for Edu.


Graphic Design/Photo week 1

The Black Square Problem Student Examples.

screen shot 2019-01-19 at 8.37.28 pm

screen shot 2019-01-19 at 8.38.06 pm

I did this lesson with my high school students the first full week of graphic design/photo class. Computers were not all working and needed a lesson that students could do off the computers. I think it got them thinking about composition more. I think they made some better photos because of it.

screen shot 2019-01-19 at 8.31.49 pmscreen shot 2019-01-19 at 8.31.39 pm

We also took photos of a pencil. How can you make a pencil look more interesting. Varying the composition and placement of it. That was towards the end of the week with the black square problem. I used Padlet to post the photos. You get 3 boards for free.

I also do the pencil photos because students are learning how to use Microsoft Teams. We are a Microsoft 365 school. It has similar features as Google for Edu. I’m getting used to it. I got the students to login to the student emails accounts. Create an email signature. Then I showed them how to access the Team I added them to. We don’t have cameras for the students they use their cell phones. They had to download the OneDrive App. Then we would upload their photos to the cloud storage. Then they downloaded them to their desktop. I’m disappointed the Microsoft Teams App doesn’t allow student to just attach the photo to their assignment from the phones. At this time you can do that using a desktop and a tablet. Worked on my iPad but not on their phones. Microsoft please change this! It’s practice. We switched to 365 at the beginning of the year. Most of my students didn’t know they had a student email account. That took a day. My classes are 44 min long.  I make them do 2 practice turn in so it helps to cut down on questions.

I have a free downloadable PDF from my TPT store you are welcome to try with this lesson. Students sketch out their ideas for playful, order, bold, and tension.

Link to Black Square Problem PDF

Then I had them measure a 10 x 10 in square. The smaller white squares are 4.5 x 4.5 in squares. Then just cut and glue down to match their best sketches.

You could also consider doing this in  Photoshop by opening the PDF file or Adobe Illustrator for a digital version and print out.

I can’t take credit for it I got the idea from a university website. I have no recall what school it was from. If you google search black square problem you will see tons of solutions.


3 Tips for Lab Classroom Management

Screen Shot 2019-01-05 at 10.29.04 AM.jpeg

This is  my 2nd year teaching in a computer lab. These are a few tips that have helped me out. There wasn’t as much online about this.

  1. Make sure to label all the computers with a number or a letter. I got this from a teacher friend of mine. Klarson Blog   Why do this? Well it really helps when you don’t know the students very well and you can tell them sit at #9 and not offend anyone because you can’t remember their name. As I get older harder to remember names. I also do assigned seating and that helps to remember who is sitting at which computer. Also when you have to contact your IT dept they will know which computer is having issues.  Here is an image of my current seating chart. There are 8 classes per day (A-H) and then I have 18 computers in the lab. Then I put the student’s name under the correct period and the computer #.screen shot 2019-01-05 at 11.12.55 am
  2. Make students give you an ID for when they check things out. I had a hard time remember who had the head phones or who has a wacom tablet out. Then I started taking the student’s ID while they are using it. The two high schools I’ve taught at require students to carry a student ID.
  3. Slowing down. I used to try and rush starting things, and realized if things aren’t working in the lab technology wise. Just take it slower. I’m having students do hands on projects. Spend more time talking and critiquing till IT has time to come in and fix the issues. Helps vary things up a little. Be patient.

That’s it for today. I’m going to try and blog once a week about what I’m having students work or any other tech tips.

Board Game Lesson

Students last year LOVE

games. Even board games. I just finished putting together the material I created for the game lesson I did last school year. 26 pages of lesson material/examples. See the video preview of the PPT. My students did a great job with it last year. This lesson could be modified for an academic subject instead. Create a game on a era of history or a book for ELA.

Here is a link to preview the video that I made of the PPT.

Board Game PPT Preview

Microsoft Teams for Education

teamThumb

I’m going to start to use Microsoft Teams for Education with my students. It looks like google classroom. I’m hoping for good things to come from using it. I’m not happy with the OneDrive. Microsoft’s version of Google Drive. I don’t think it works as well, but it could also be that Google had does such a good job in being the mainstay for public school education. I teaching in private school and have started using Microsoft’s version. I’ll document how it works.

Here is a link to videos provided by Microsoft on the Teams.

Also here is my video on how to create a Microsoft Team for Teachers video.

Tips for Teaching Graphic Design

june03
Next week I’m going to start teaching some editorial design to my high school students. I’m pretty excited about that because my design experience is from that area. Especially advertising. I tend to be commercial in the way that I think about things.

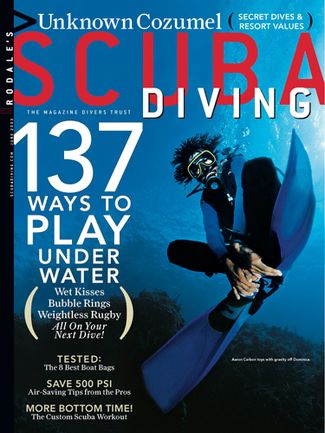
I’m going to share with them work from when I was a advertising designer at Scuba Diving Magazine. Fond memories. It was a great place to work at. The original parent company Rodale, Inc. Men’s Health, Women’s Health, Runner’s were some of their titles. Was a family owned business at the time. I believe Hearst purchased it recently. I think publishing had a rough time of it. Some companies have faired better then other, and had a better understanding of how to monetize content. I need to spend more time researching the evolution of it.

I got to work with some wonderful staff and then the clients were super nice and from all over the world in the diving industry. I got to work with amazing world class underwater photographer Stephen Frink. Such a humble guy! One of my favorite bosses of all time was the marketing director, Susan Smith and publisher Dane Farnam. Feels like a lifetime ago.

How did we get to editorial design? I spent the first month and 1/2 on Adobe Photoshop CC 2018. I think that was a good start. Then we moved into using Lightroom for about 2 weeks. I’m not as familiar with it, but ALL my photographer friends use it. I never knew why and then I started teaching it. I have to say the organizational system that is built in to Lightroom is pretty amazing. Then we spent a month on Adobe Illustrator. On to Indesign. I think in 1 semester that might seem like a lot of software to cover, but I feel like if they students come back for another class I need them to be aware of how to use the basics of the software.

MY 5 TEACHING TIPS

1. TRY AND CHUCK THINGS UP
Even if students are in high school or adult education or whatever. There are a lot of steps. I spent 10 yrs in the graphic design industry working over 40 hrs a week using the software. That is over 20,000 hrs experience. I tend to forget what comes second nature to me. Even the little things spell it out. I forget for many of my students this is the first time they have used the software, or they may have taken a similar class but it was a year ago. I tend to do bellringers. I have a short 10 min. activity use the software before we go into really using that software. When students were using Photoshop, I had a bellringer for Lightroom to try and introduce it. Started with Navigation. Then next day continue the overall project with Photoshop and bellringer with Lightroom.

2. REPETITION, REPETITION, REPETITION
Muscle memory is one of the strongest things that we have that allow us to remember how to do things. Even after I moved onto new software, if I feel like we might be forgetting Photoshop I’ll go back and have another activity that is a refresher.

3. KISS. KEEP IT SUPER SIMPLE
I have to remind myself this is an Intro class. I have to tell myself what do they really need to know. Not too much really basic stuff. What student wants to sit there and learn EVERY single tool in Photoshop? It gets boring. DO, DO, and DO. I think students will find thing out on their own as well. I make sure I cover what they need to know to complete the assignment. Example I was going to have students create their own logo for themselves and then use it on business cards. Then I said forget it that is TOO MUCH. Just gang them up and make some sticker stickers instead. They can cut things out and do something hands on.

4. SMALL GROUPS
I got this from my elementary teachers. Small group learning. Can we repeat small group learning. It is the go to in elementary and it works in secondary. I split my room into 2 groups. This works better after you start a project. Then I give instruction to 1 row of students and 2nd group is working independently. Then switch. For larger groups this works well. Then if someone missed something from group 1 they watch it again. Then group anyone needs help I go back and work with them one-to-one. I also provided Youtube videos. I have some students that are independent learners, but we all learn differently. I find most students want some type of direct instruction. I make it a rule that students in the second group must ask each other questions I’m off limits while with the 1st group. That is why tip 5 is really helpful.

5. GAMES/ICEBREAKERS
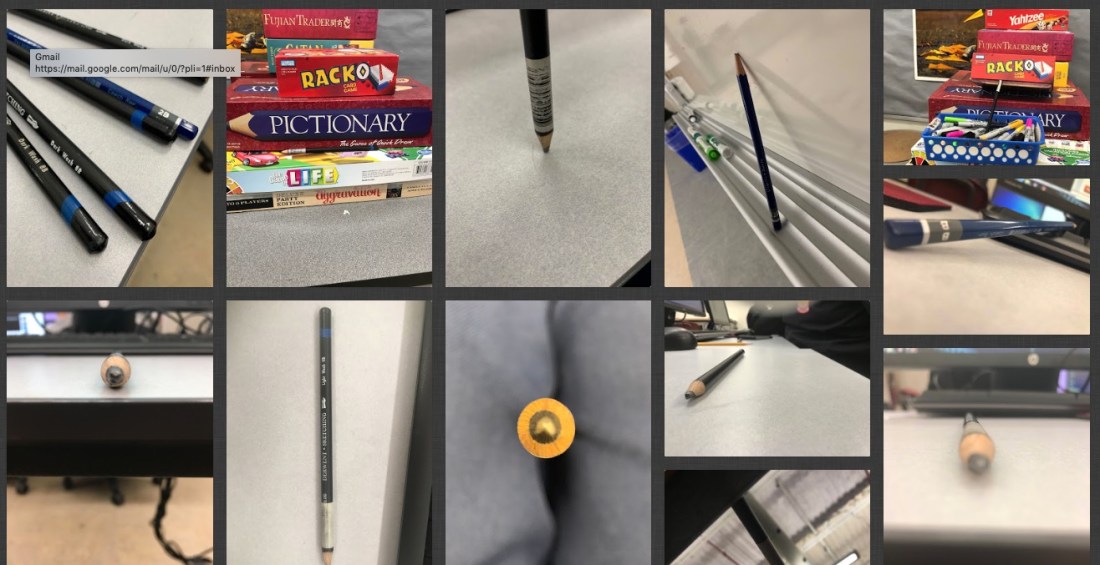
I used to totally hate these things, because I’m an introvert by nature. If you are reading this you are probably think why did you become a teacher? Save that for another post. Office culture activities like playing a get to know you game helps in any grade level. Even if you feel like people will get to know each other on their own that takes time. Do an icebreaker. Otherwise they will rely on you all the time. Don’t assume they all know each other because they are at a small school or in the same grade level. In work or business it’s a team activity. Get to know your team with an icebreaker. I’ve done people bingo, throw a snowball, THIS or THAT, and scavenger hunts. Here is some simple ones on TINYPULSE.com

My current students really liked THIS or THAT. Coke or Pepsi? Netflix or Youtube? Pie or Cake? I made a game in Nearpod.  For the teacher it helps me to get to know the students better. I think I will do one again when we get back from the Thanksgiving break.

That is it for now. Also excited I’m going to be teaching an adult drawing class in April with the local university continuing education program. More to post later!