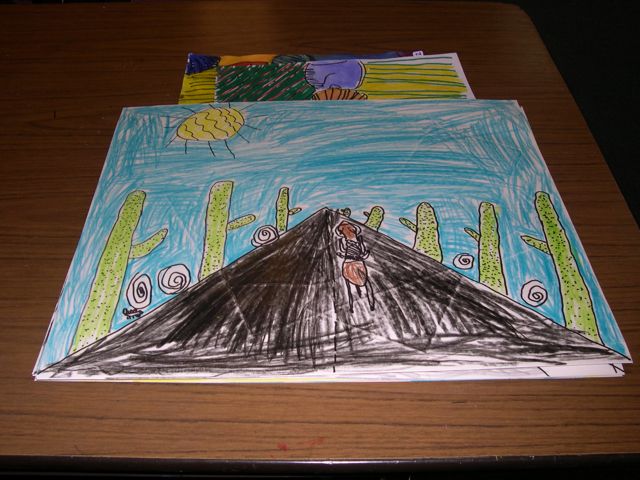
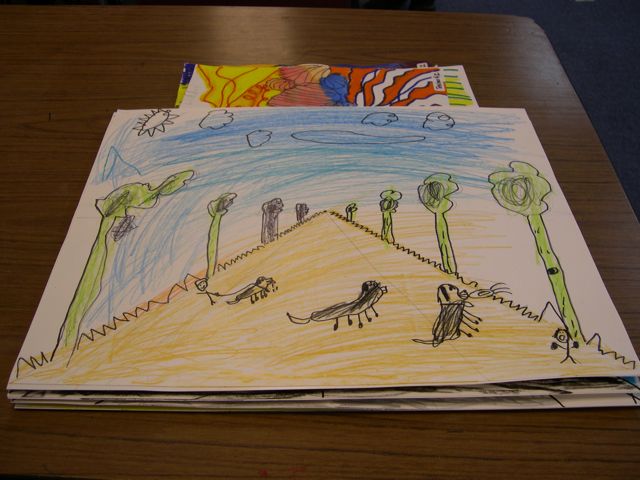
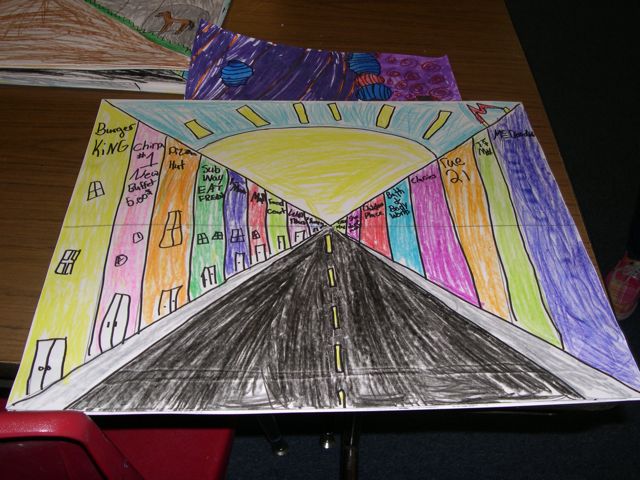
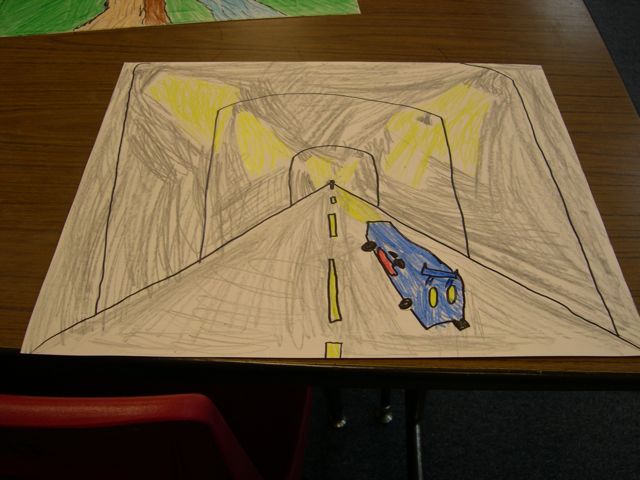
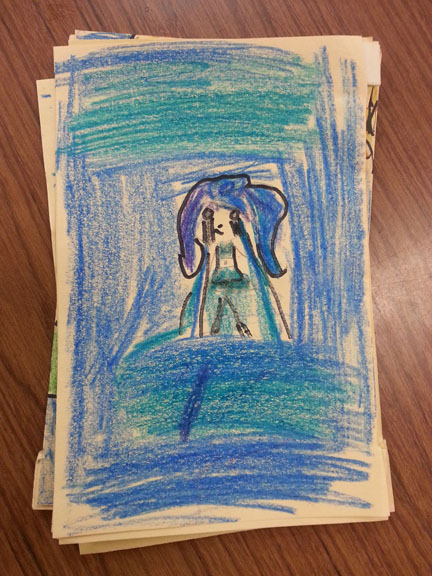
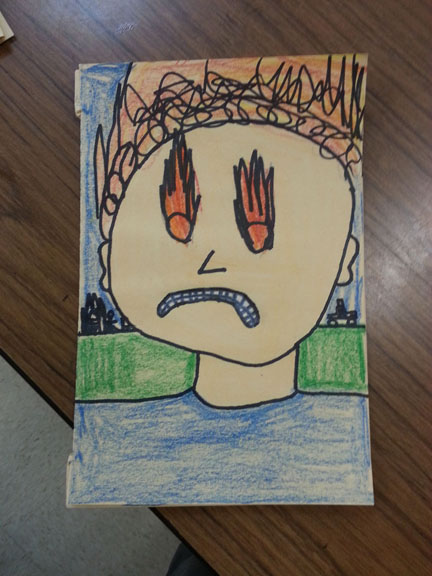
The Black Square Problem Student Examples.

I did this lesson with my high school students the first full week of graphic design/photo class. Computers were not all working and needed a lesson that students could do off the computers. I think it got them thinking about composition more. I think they made some better photos because of it.

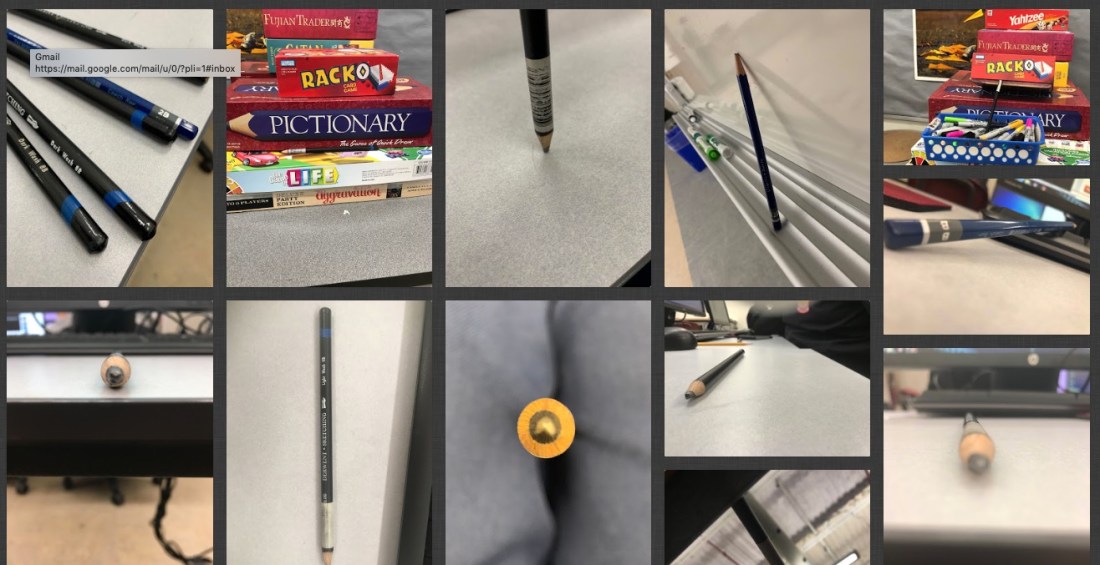
We also took photos of a pencil. How can you make a pencil look more interesting. Varying the composition and placement of it. That was towards the end of the week with the black square problem. I used Padlet to post the photos. You get 3 boards for free.
I also do the pencil photos because students are learning how to use Microsoft Teams. We are a Microsoft 365 school. It has similar features as Google for Edu. I’m getting used to it. I got the students to login to the student emails accounts. Create an email signature. Then I showed them how to access the Team I added them to. We don’t have cameras for the students they use their cell phones. They had to download the OneDrive App. Then we would upload their photos to the cloud storage. Then they downloaded them to their desktop. I’m disappointed the Microsoft Teams App doesn’t allow student to just attach the photo to their assignment from the phones. At this time you can do that using a desktop and a tablet. Worked on my iPad but not on their phones. Microsoft please change this! It’s practice. We switched to 365 at the beginning of the year. Most of my students didn’t know they had a student email account. That took a day. My classes are 44 min long. I make them do 2 practice turn in so it helps to cut down on questions.
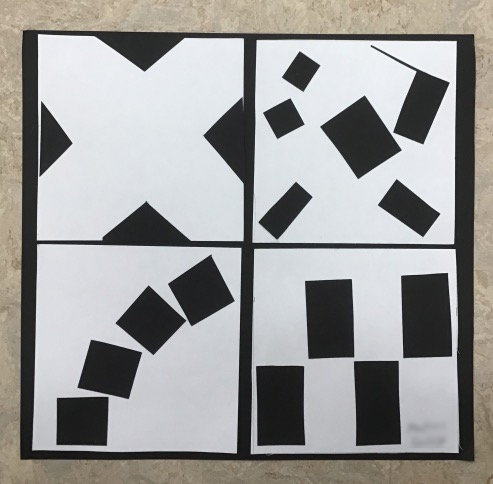
I have a free downloadable PDF from my TPT store you are welcome to try with this lesson. Students sketch out their ideas for playful, order, bold, and tension.
Link to Black Square Problem PDF
Then I had them measure a 10 x 10 in square. The smaller white squares are 4.5 x 4.5 in squares. Then just cut and glue down to match their best sketches.
You could also consider doing this in Photoshop by opening the PDF file or Adobe Illustrator for a digital version and print out.
I can’t take credit for it I got the idea from a university website. I have no recall what school it was from. If you google search black square problem you will see tons of solutions.
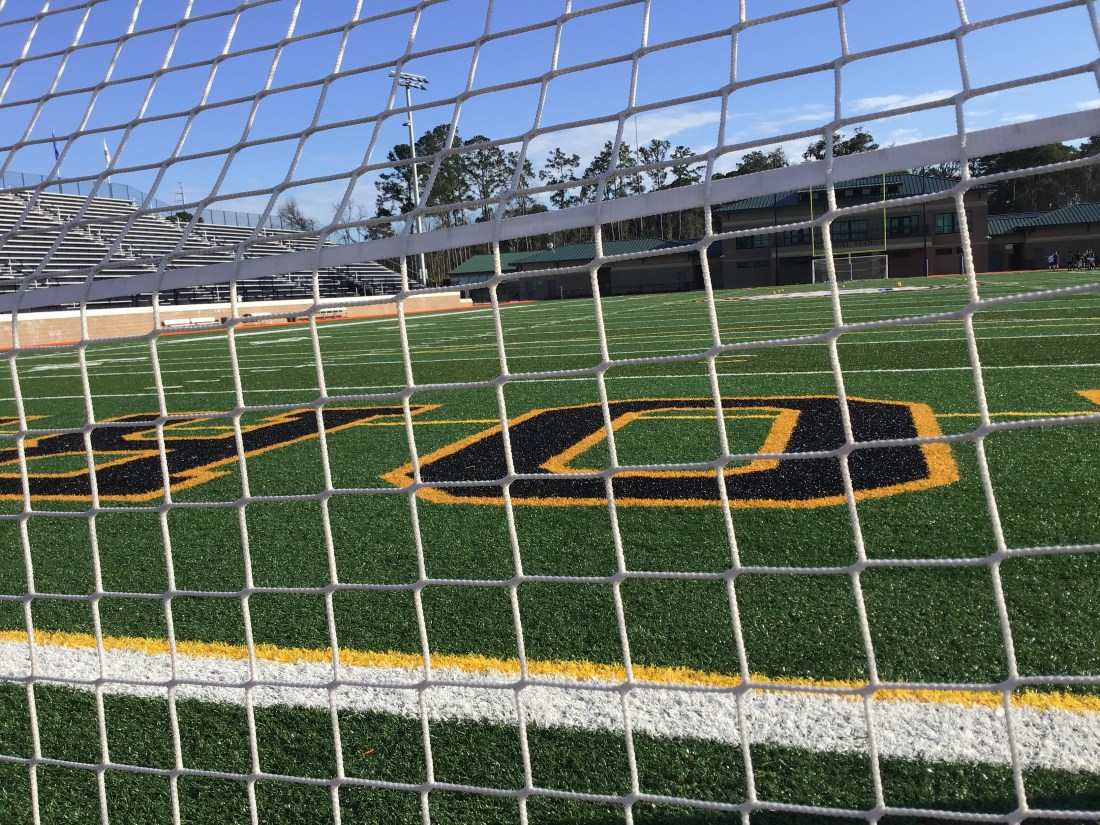
 Students finished their Soccer ads. We have Monday off. I’m planning to do a critique of the student work that was finished. For my larger groups, have about 4-5 students come up at a time to look at the work. They are pretty honest about what they like and don’t like. I agree with them and make some additional comments. I think next time I’m going to give them a direct critique of their own work instead of having them pick out the ones they like.
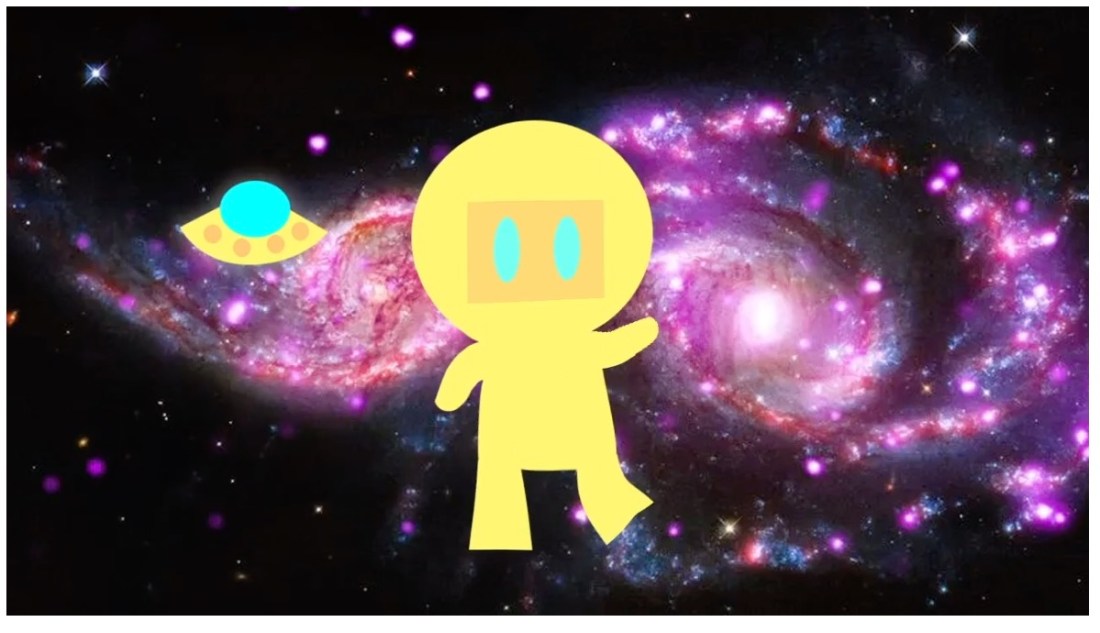
 I had my students this week finish their photoshop merge photos project. It’s really for them to get used to using the tools in Photoshop to take several photos and put them into one picture. I have a youtube playlist that you can follow with.


